How to Choose the Right Pixel Pitch for Your LED Display
Pixel pitch — the distance in millimeters between the centers of two adjacent LEDs — is the single biggest driver of both image quality and price in an LED display. Choose too coarse and the image looks blocky to your nearest viewers; choose too fine and you pay double for resolution nobody in the room can perceive. This guide gives you the working rules we use when speccing projects at the factory.
The viewing-distance rule
The human eye stops resolving individual pixels at a predictable distance. The industry shorthand is simple:
Minimum comfortable viewing distance (meters) ≈ pixel pitch (mm). A P3 screen looks smooth from about 3 m; a P1.5 from about 1.5 m.
For a “retina-like” result where pixels are truly invisible, multiply by two or three. If your nearest viewer stands 4 m away, P4 is acceptable, P2.5 is comfortable, and P1.2 is wasted money.
Start from the nearest viewer, not the screen size
The most common specification mistake we see is choosing pitch from screen size. A huge screen does not automatically need a fine pitch — a highway billboard 40 m from traffic performs perfectly at P10, while a small 2 m² lobby screen viewed from 2 m needs P1.8 or finer. Walk the site and answer one question first: how close does the nearest important viewer get?
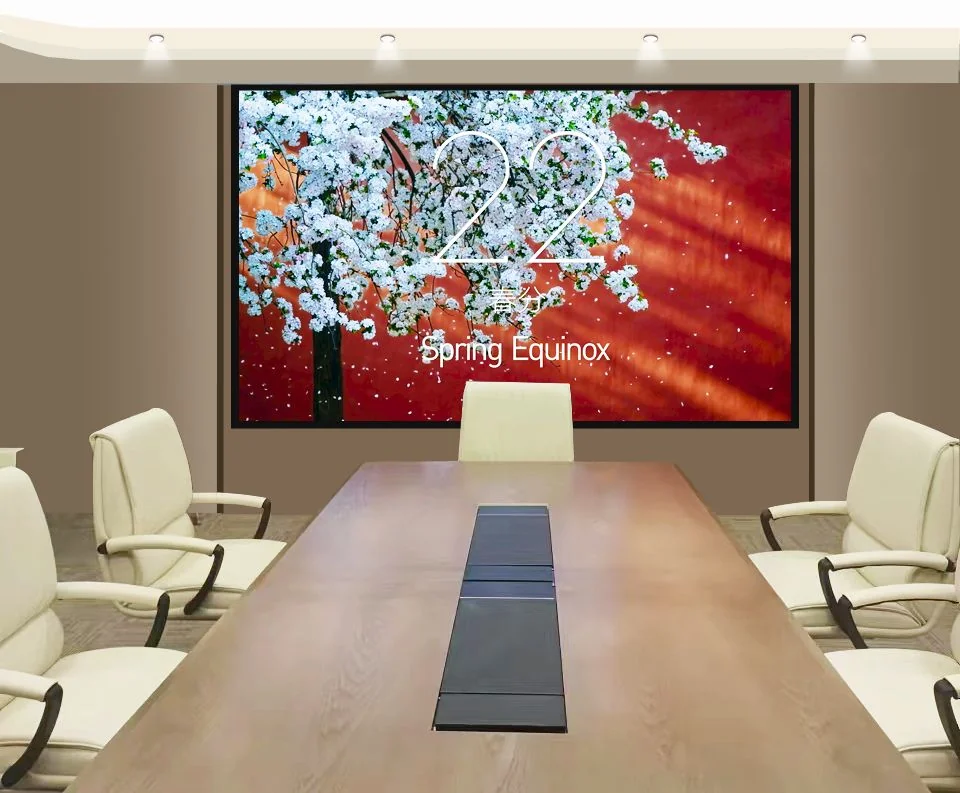
Typical pitch ranges by application
| Application | Typical viewing distance | Recommended pitch |
|---|---|---|
| Boardroom / control room | 2–5 m | P0.9 – P1.5 |
| Retail store / showroom | 2–6 m | P1.5 – P2.5 |
| Stage & events (indoor) | 5–30 m | P2.5 – P3.9 |
| Storefront window / poster | 3–10 m | P1.8 – P2.5 |
| Outdoor street-level media | 5–30 m | P3 – P5 |
| Billboard / building facade | 20 m+ | P6 – P10 |
Resolution: check the content, too
Pitch and screen size together fix your resolution. Divide screen width by pitch to get horizontal pixels: a 4 m wide P2.5 screen gives 1,600 px — comfortably above Full HD width when paired with the right height. If you plan to show spreadsheets, dashboards or fine text, aim for at least Full HD (1920×1080) across the wall; for video and advertising, lower resolutions remain perfectly watchable.
Where the money goes
Price scales roughly with LED count, and LED count grows with the square of pitch reduction: a P1.25 screen carries four times the LEDs of a P2.5 of the same size, plus denser driving electronics. Halving the pitch can more than double the cost per square meter. That is why an honest supplier asks about your viewing distance before quoting — and why "finer is better" is bad advice when the audience stands 10 m away.
Three quick sanity checks before you order
- Nearest-viewer test: pitch (mm) ≤ nearest viewing distance (m). Prefer 2× margin for premium spaces.
- Content test: total resolution ≥ the sharpest content you will actually display.
- Budget test: if two pitches both pass the tests, take the coarser one and spend the savings on better brightness, refresh rate or service parts.
Still unsure between two pitches? Send us the room dimensions and viewing positions on WhatsApp — our engineers will simulate both options with real resolution numbers, free.
Turn viewing distance into a content test
Rules of thumb are useful for narrowing options, but the final choice should be made with the content your audience will actually see. A control room showing small labels has a different requirement from a concert wall showing faces, even at the same distance. Prepare screenshots of the smallest text, line graphics, logos and video used in daily operation. Ask the supplier to display them on two adjacent pitch options and view both from the nearest and typical positions marked on the floor.
Pay attention to more than visible pixels. Check whether thin lines remain continuous, whether white text has coloured edges and whether the processor scales the source cleanly to the wall's physical resolution. A slightly wider pitch with correct source mapping can look sharper than a finer wall receiving badly scaled content.
Calculate the wall's physical resolution
Pitch tells you the distance between pixels; wall dimensions tell you how many pixels you actually receive. Divide the width and height in millimetres by the pitch. A 4,800 mm wide wall at P1.5 is roughly 3,200 pixels across, while the same wall at P2.5 is about 1,920 pixels. This calculation helps determine whether a presentation can be shown pixel for pixel, whether a 4K canvas is realistic and how many controller outputs are required.
Do not force a standard video resolution if the architecture calls for a different shape. LED walls can be any size; the processor can map a custom canvas. What matters is that designers know the final pixel dimensions and produce content for them. For dashboards, the software layout may need larger text or fewer columns if the wall resolution is lower than the desktop monitor it replaces.
Pitch changes several costs at once
Reducing pitch increases LED count, driver IC count, data load and calibration work per square metre. It can also change module construction, cabinet flatness requirements and acceptable installation tolerance. Compare quotations at the same wall size and complete specification, including controller, structure, spares and installation. A lower pitch is not only a more expensive module; it may require a different system architecture.
Worked selection examples
- Boardroom, nearest seat 2.5 m: compare P1.5, P1.8 and P2.0 using spreadsheets and video calls. Choose the widest pitch that keeps small text comfortable from the nearest seat.
- Retail feature wall, typical view 5–8 m: P2.5–P3.9 may be sufficient depending on wall size and content. Spend budget on brightness consistency and installation finish before buying invisible extra pixels.
- Outdoor roadside screen, view 30 m+: a wider pitch can remain clear because the eye blends pixels at distance. Brightness, cabinet sealing and power efficiency become more important than close-up smoothness.
- XR stage viewed by a camera: camera distance, lens focus, scan mode and moiré risk matter. Conduct a camera test instead of applying a human-viewing formula.
What to include in the RFQ
- Exact active width and height, or the maximum available opening.
- Nearest, typical and farthest viewing positions.
- Sample content and the smallest text that must remain readable.
- Indoor or outdoor conditions, ambient light and operating hours.
- Required inputs, native canvas resolution and controller preference.
- Front or rear maintenance space, wall depth and installation constraints.
With those six inputs, a supplier can explain why a pitch is appropriate and show the resulting wall resolution. Without them, the recommendation is usually a guess biased toward whatever model is easiest to sell.
Confirm the choice with a sample or video test
If two pitches remain close after calculation, request a side-by-side factory video filmed from the intended viewing distance, or inspect physical modules with your own content. Keep camera position, exposure and brightness consistent so the comparison is meaningful. For a large or colour-critical project, a paid sample or factory acceptance visit is small insurance: it confirms pixel appearance, low-grey performance, surface finish and the service method before the full wall is produced.